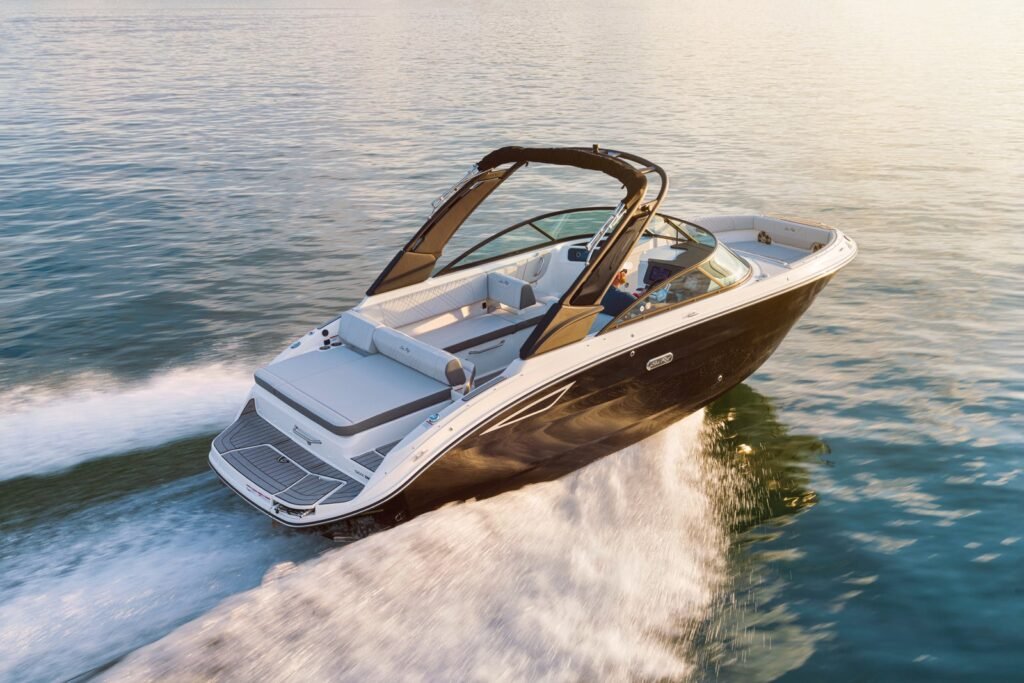
Looking to upgrade your boat’s comfort, safety, and style? ✨ An EVA boat deck, also known as boat flooring or boat decking, is the perfect solution. This EVA boat deck installation guide provides step-by-step instructions to ensure a secure and aesthetically pleasing installation of your new boat flooring. Learn how to install your EVA boat deck, a popular alternative to Seadek, like a pro! 🛠️
I. Tools Preparation for EVA Boat Deck Installation
Before you begin your boat deck installation, which is a key part of choosing the right boat flooring, gather the following tools: 🧰
- Sharp utility knife 🔪
- 90% isopropyl alcohol (Propan-2-ol) 🧴
- Acetone (Propan-2-one) 🧪
- Masking tape tape
- Cleaning cloths 🧼
II. Installation Recommendations for Your EVA Mat Installation
- Temperature Requirements: For optimal EVA mat installation, crucial for any boat flooring project, the ambient temperature should be between 50°F and 100°F (10°C to 38°C). 🌡️
- Fixed Position: Once placed, do not attempt to adjust or move the EVA boat deck, your chosen boat decking, during installation. 📍
- Avoid Deformation: Avoid pulling, stretching, or compressing the EVA mat during installation, as this can affect the final result of your boat flooring project. ⚠️
III. Preparation Work for Boat Deck Cleaning
Proper boat deck cleaning is crucial for successful EVA boat deck installation, especially when considering options like marine floor vinyl or EVA foam. 🧹
- Clean Surface:
- Use acetone and a cleaning cloth to thoroughly remove grease, glue, release agents, wax, dirt, etc., from the installation area. 🧼
- Use isopropyl alcohol and a new cleaning cloth to remove any remaining residue. ✨
- Ensure the surface is completely dry (acetone will dry in about 30-60 seconds). ⏱️
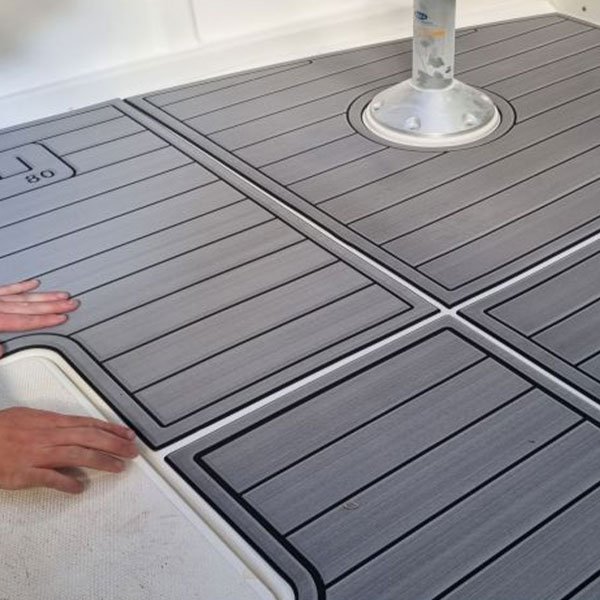
IV. Installation Steps for Your EVA Boat Deck
Follow these mat installation steps carefully to achieve a professional-looking boat flooring finish: 💯
- Pre-laying: Before peeling off the backing paper, lay the EVA boat deck, your chosen boat decking, in the desired position to check if the size and spacing are correct. 👀
- Cutting the Backing Paper: Determine the installation position of the first EVA mat, turn it over so that the adhesive side faces up. Use a sharp utility knife to carefully cut the backing paper from the center of the mat to the edge (center to top edge, center to bottom edge), making sure not to tear the backing paper. Be careful not to cut the EVA boat deck itself. ✂️
- Folding the Backing Paper: Starting from the center cut, peel off 2 inches (5 cm) of the backing paper and fold it over. Repeat this operation on the other side, folding the backing paper to cover the adhesive surface. ↩️
- Repositioning: Turn the EVA boat deck, your new boat flooring, back to its original position and place it accurately in the installation location. 🎯
- Securing One Side: Use masking tape to firmly secure one side of the EVA mat to prevent it from moving. 📌
- Peeling off the Backing Paper: Lift the unsecured side and peel off the backing paper to the fold. Gently place the EVA boat deck back in its original position. 📄
- Pressing and Fixing: Press the EVA mat firmly from the center outwards (center to top, center to bottom) to ensure there are no air bubbles. 💪
- Completing the Other Side: Remove the masking tape and repeat steps 7 and 8 to paste the other side. Press the EVA boat deck evenly to ensure it is firmly bonded to the surface. ✅
- Edge Treatment: Press all edges firmly to prevent water penetration. 💧
- Gradual Pasting: Continue to peel off 2-3 inches (5-7.5 cm) of the backing paper, repeating the pressing steps until one side is completely pasted. ➡️
V. Precautions for EVA Boat Deck Maintenance
Proper boat deck maintenance will extend the life of your EVA boat deck, whether it’s boat flooring, boat decking, or marine floor vinyl.
- Avoid Sharp Objects: Avoid scratching the EVA mat with sharp objects during installation and use.
- Regular Inspection: Regularly check the adhesion of the EVA boat deck and repair any loose parts in time.
Conclusion:
By following these steps and taking the necessary precautions, you can successfully install your EVA boat deck and enjoy its many benefits for years to come. A well-maintained EVA boat deck will not only enhance the look and feel of your boat but also provide a safe and comfortable surface for all your boating adventures. ☀️ Remember to always prioritize safety and take your time during the installation process.V. Precautions for EVA Boat Deck Maintenance